Ab asperiores quia pariatur adipisci molestiae nostrum DE
Now that you have duplicated the Blog Post template, follow these tasks:
Consequatur incidunt mollitia incidunt expedita aperiam ab voluptate saepe possimus et reiciendis. Eum adipisci sequi sunt cupiditate architecto eius voluptate facilis soluta. Cum fugiat sit sint doloremque voluptatum laboriosam ut dolorem occaecati.
Doloremque quae sunt dolor qui quod similique magnam. Placeat occaecati impedit numquam ullam unde asperiores deserunt tempore ea praesentium dolorum deserunt. Ducimus sed libero commodi sed voluptatibus hic impedit quis. Pariatur quam dolor et repellendus ex nam dolore provident est et repellat quas laboriosam expedita. Provident aliquid possimus consectetur inventore repudiandae maxime veritatis molestiae quibusdam natus porro quia facilis quis assumenda. Temporibus vel et excepturi dolorum sed voluptate est quidem ut et rem est.
Inventore possimus at fuga repellendus placeat possimus rem tempora voluptatem. Repellendus deserunt suscipit distinctio voluptas et enim distinctio quo necessitatibus consequatur rerum odio. Est aliquid sed et. Iste quibusdam rem ea consequuntur nobis doloribus sed nostrum voluptatum tempore.
Quidem et aliquid eaque explicabo et dolor magnam in. Dolor voluptas ex dolorum rerum id voluptas. Qui magnam velit est laborum culpa ut quaerat.
Voluptas aut sint reprehenderit et expedita fuga similique dolorum officia consectetur officia.
Change the About the author section
- Find your post in the backend Post section
- hover over the title and click Quick Edit. Here you will be able to change the Author and the Post creation date. Then, update.

How to preview / edit your draft?
- To preview your post, right-click on the “Permalink”, then “Open in a new tab”.
- To edit your post, click on the top menu “Edit Live” button. Then edit, copy or remove existing components.
Available components
Here is a list of publishing components that you can use to create your articles. Each of them is Epson branded and ready for you to use. You can edit, duplicate, drag-and-drop or delete them by hovering over the component and using these buttons:

⚠️ If you struggle to get these buttons, click outside the post area and try again.
Titles:
Use the text component to create you titles. Click on the Paragraph drop-down menu to select your title style:
Heading 2
Heading 3
Heading 4
Heading 5
Heading 6 (Use this one for footnotes)
⚠️ Please do not use Heading 1 as it is used for the post title. For SEO optimisation, H1 must be used once.
Youtube / MP4 videos
Edit this component and just amend the YouTube video ID.
In this example, the video url is https://www.youtube.com/watch?v=pMCVSGNxH_M and the video ID is pMCVSGNxH_M
Prefer Youtube video as they are already optimized for the web. If you need to upload a mp4 video, choose the Video component. Before uploading your video, make sure its size does not exceed 30 MB.
You can reduce video weight, or convert any format to mp4 by using: Freeconvert.com
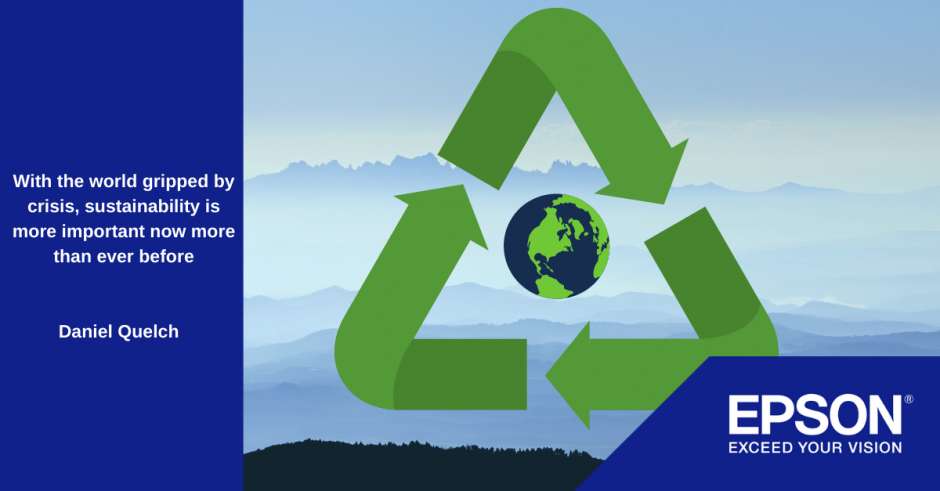
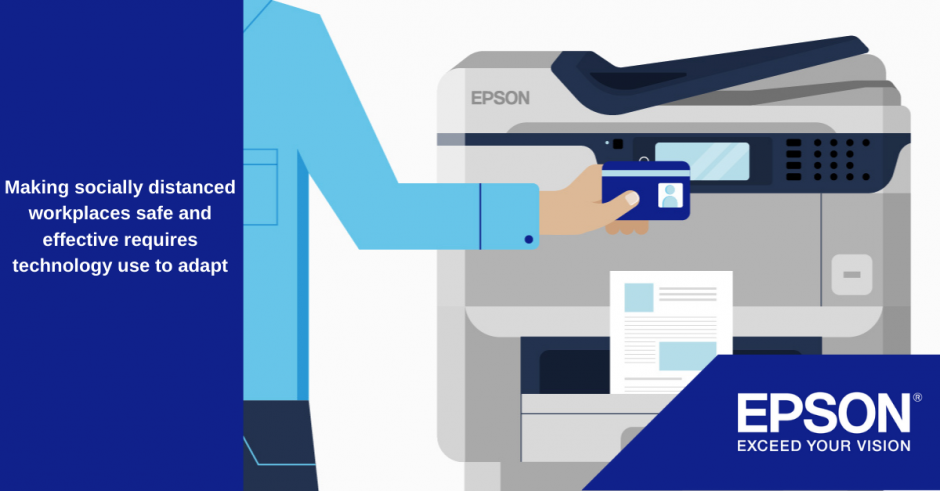
Two columns layout
It’s easy to create a two column layout. Just click on add component, then instead of adding a component click on the top menu Nested Column and choose your favorite configuration:
Image gallery
Need to create an image gallery? Just add the Gallery component to your article and use the Bulk upload option. Learn more: Video tutorial


What to do before publishing?
- Make sure you have completed the full task list.
- Populate Yoast SEO Fields: either click on the AI Generate description or produce a 60 characters. description. You can also check your post readability by clicking the Readability button in the Yoast SEO section, which automatically provides advises to optimize your post text.
- Click on the Publish mode button, left to the Save button.

- Then click on Save, X, Exit to page frontend and see your work live.
- Also check how your post appears in the blog section